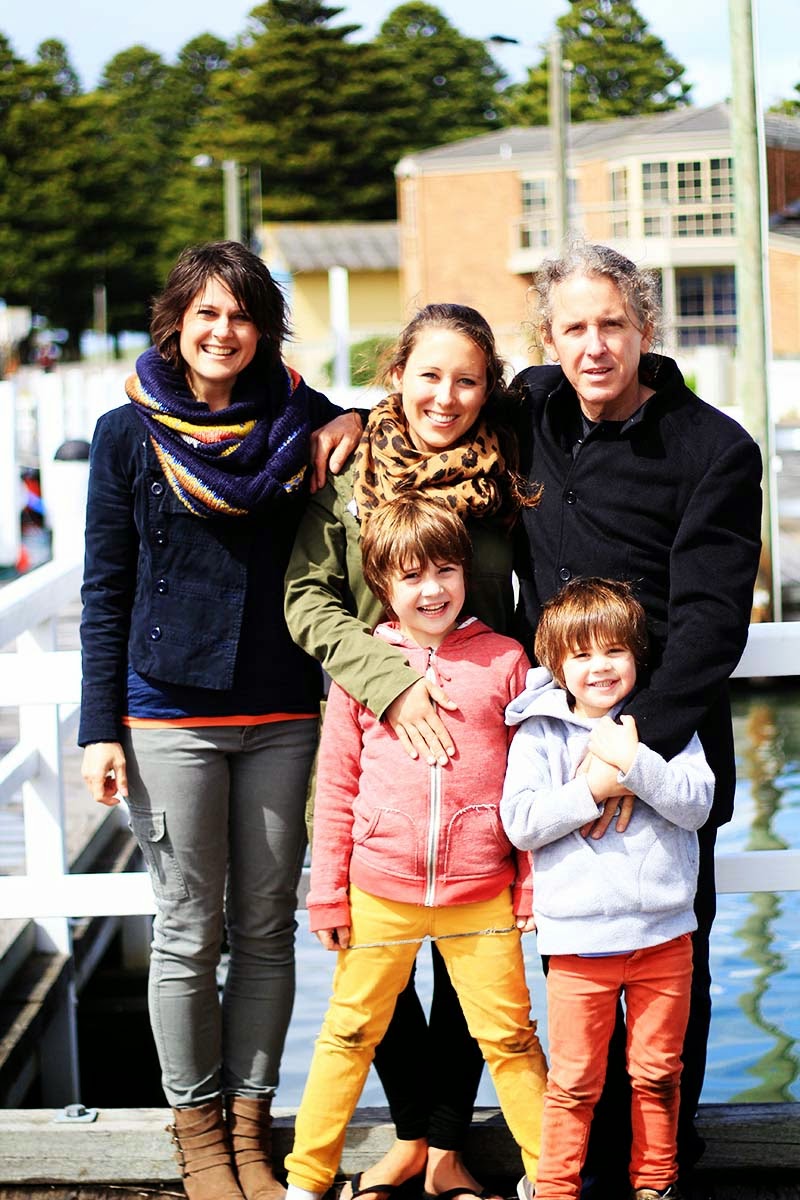
Hello hello! Here were are, revealing the next stage of renovations at our little beach cottage at
Port Fairy. The renovations took a total of nine weeks to complete, with some more tweaks to do. We hope you delight - like we do - in this original bluestone whaler's cottage!
This room was renovated by the previous owners and so the plaster work on the walls and ceiling was good. Unfortunately, the floor needed reblocking, and some of the touches were a little dangerous (I'm thinking of the sharp corners on the tile hearth). But before I go on about the details, here is a little peek of the room before we purchased it, and beyond...
At first glance, the lounge room looked complete, and a lovely new fireplace was installed. Someone had also lovingly (oh, so lovingly) removed the plaster from the inside wall exposing the gorgeous bluestone. The problem was that we removed the wall between the front two rooms, which resulted in a helf-rendered wall, half an exposed one. I'm not going to lie: it was a torturous decision to either chip off the render on the other wall, or cover up the bluestone so they were the same.
Practicality and light won over. White creates space, and the bluestone, while beautiful was so very dark. Also, behind that little timber bookshelf was rubble. The wall hadn't been finished. We also ended up chipping a little render off the front of the house to see if the bluestone was worth exposing. And folks, it really is beautiful. So the outside will be
all bluestone, and will make up for the room we just covered up. (We will reveal this once it's been done!)
Oh, and how cute is the original bluestone hearth? It has axe marks on it from the mid 1850s, I suspect. Can you imagine the history there?
If you're interested in the details, here is how the lounge room was done:
- The wall between the former bedroom (now the dining room) was removed.
- The bluestone on the inside wall was concreted over, and plastered.
- The tile hearth underneath the fireplace was removed to reveal the original sandstone hearth (beautiful). The fireplace was removed and lowered a whole ten centimetres to have it sitting on the original hearth.
- The heart had the paint removed and chipped off. The heart was then sealed, and a fire surround was made by my husband.
- The walls were plastered.
- The skirtings were removed and the floors were
re-blocked. Rotten timber boards were replaced and short boards were
rearranged to fit the space better. The holes where the wall was removed
were patched.
- The floorboards were sanded, the gaps between the boards were filled
with black caulk, and cleaned. The boora holes were filled with teak
wood filler, and the floor was sealed using three coats of FeastWatson Floorproof Pro Ultra High Gloss Floor Finish .
- Once the floor was sealed, my husband built the cupboard carcasses
beside each side of the fireplace and we ordered unpainted doors with the same Shaker
profile as the cupboards in the dining room and the kitchen. He also recycle the timber cupboard in the front wall to make the timber shelves for the cupboards.
- Skirtings with a more traditional profile were fitted and glued.
- The fireplace, window, ceiling and walls were re-plastered. The cupboard doors, architraves and skirtings were
sanded and undercoated (using a 3 in 1 undercoat, then British Paints
H20 Enamel in Dulux Antique White USA). The walls were also
sanded and painted in the same colour (in a low sheen). The exposed
timber of the shelves were sealed with gloss Estapol, and the ceiling was
re-painted using ceiling white.
- Holland blinds were measured and installed.
This room was done between other jobs, and seemed like a work in
progress for what seemed like a long time. It was especially challenging
seeing it was our living space. All four of us slept in
the kids bedroom until this room was finished, and while the kids bedroom was being done, we all slept in this room. Dismantling the beds and that big double bunk was super fun (and I can't begin to tell you how thrilling all four of us sleeping in the same bed was!).
This is the sixth post of the finished renovations (the whole series can be found
here). Thank you for letting us share our renovations with you. The next part of the beach cottage will be revealed next week.
Would you have kept the bluestone wall, or would you have plastered over it?

.jpg)


.jpg)


.jpg)
.jpg)
.jpg)
.jpg)
.jpg)
.jpg)
.jpg)
.jpg)
.jpg)
.jpg)
+(blog).jpg)
.jpg)
.jpg)
.jpg)
.jpg)
.jpg)
.jpg)
.jpg)
.jpg)
.jpg)
.jpg)
.jpg)
.jpg)
.jpg)
.jpg)
.jpg)


